Stenciling a Nursery wall
Thought we would share with you how we went about painting our daughters bedroom wall with our Rainbows and Rain clouds Stencil
We used the medium size option as the chimney breast wall was not to big. The stenciling project took around 1-2 hours to complete with the cost at around £20.00 including all materials.
So here is the low down in simple steps... hope its useful!
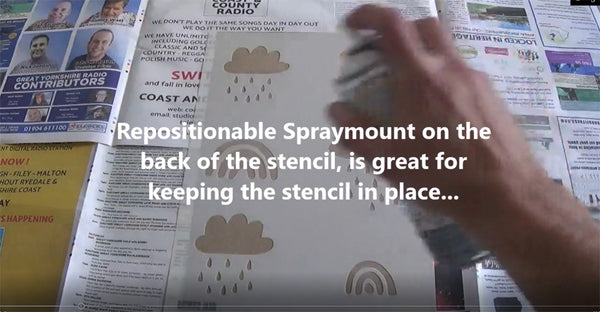
1st we used repositional spray mount on the back of the stencil - this is a must have for best results. It keeps the back of the stencil tacky and reduces paint bleed.
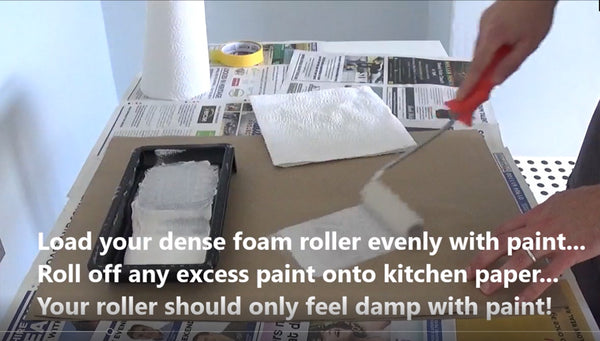
Next we loaded our dense foam stencil roller. We always use a roller for large projects ( so much quicker!)
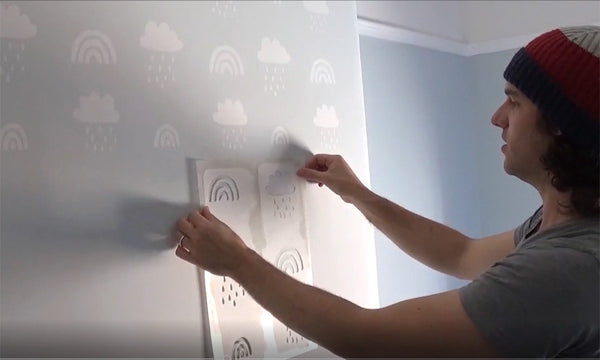
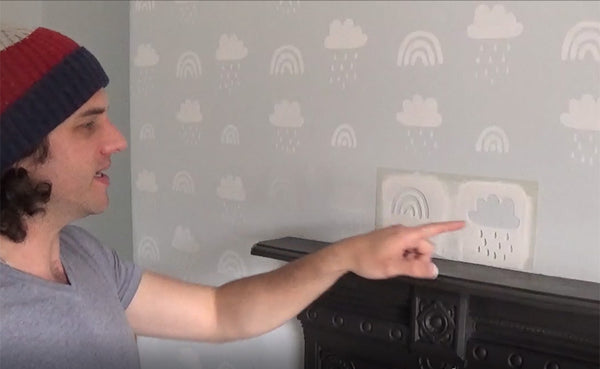
When your roller is ready set to work painting your stencil. This pattern just repeats by eye - so we moved the stencil along the wall and then down making the pattern as we went. Just offset your sheet like the below image so your pattern alternates.
We made our way down to the skirting board and taped and used a stencil brush to paint those areas the roller would not get to.
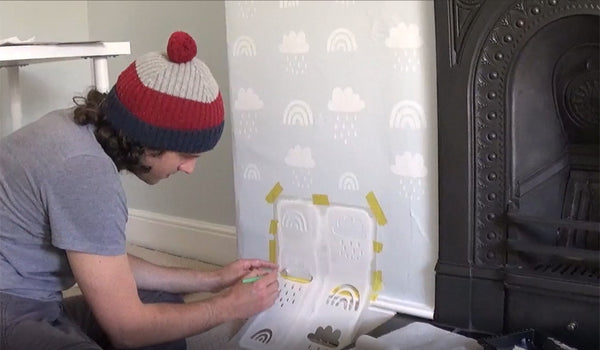
Don't be afraid if you're getting to the end of your project and you think it would make life easier to cut your stencil up to make finishing off in awkward areas easier. That's what we did to stencil around the fire place.
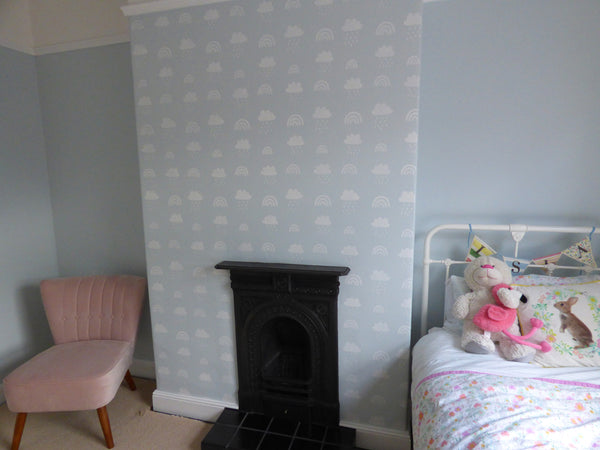
And that is it - the project took around 1-2 hours to complete, just a tiny bit of emulsion paint and the results are well worth it. Here is what the finished wall looked like...
Thanks so much for reading and if you want to see the video then check it out here
Until next time...


Leave a comment